Data sources: Add a data source
This step uses the HTTP API data source as an example, but you can use any platform for which you have access to the code.
To add a data source:
- Go to Sources > Data Sources and click + Add Data Source.
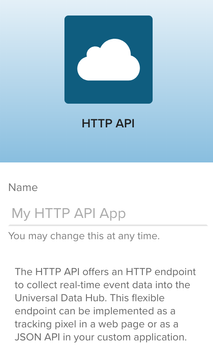
The data source modal appears. - In the Categories side panel, click Developer Languages and select HTTP API.

- Enter a name and click Continue (You can change the name later).
- Click Continue and skip the steps about event specifications (We will return to that topic later). The Get Code screen displays the basic installation code.
- Click Download PDF to save this information for offline use, then click Save & Continue.
- The summary screen confirms that your data source has been created and provides the next steps:
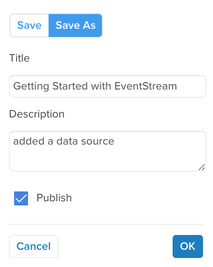
- Save and Publish - You must save and publish your account for the data source to be recognized with incoming events.
- Install Code - Installing the base code is the easy first step, but implementing event tracking throughout your application will take more time and planning.
- Verify Events - After your installation is running and sending event data, go to Live Events to see your data in real-time.
- Click Close. Your new data source now appears in the list on the Data Sources screen.
Note the newly generated data source key or reference the downloaded installation instructions for the next tutorial.
However, before we move on, let’s do a quick save and publish so you can complete the set up of your data source.
This page was last updated: January 22, 2025
