Trace: Test with Trace
In this step, you will use Trace to validate that all of the previous configuration is working as expected. You will get a trace ID, add it to your application (or use the Tealium Tool), perform a simple test, then inspect the logs in the Trace interface.
Requirements
If you are testing a web page with Trace, you need the following:
Start a trace
Follow these steps to perform a test with Trace:
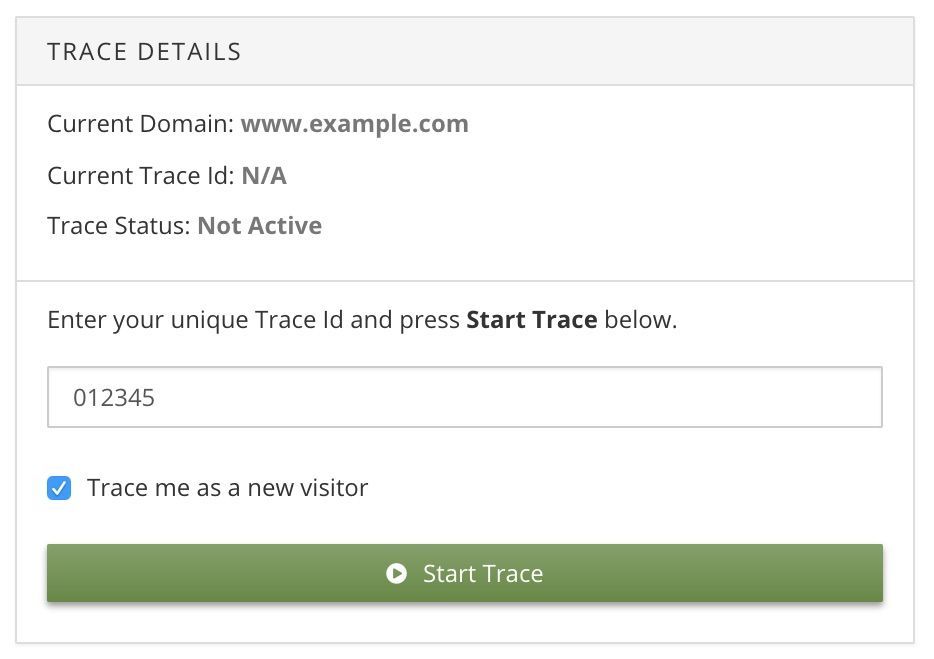
- Navigate to Tools > Trace and click Start under New Trace.
- Copy the trace ID provided and click Continue.
- Activate the trace ID using one of the following methods:
-
Tealium Tools
-
Data Layer Attribute
- Add
tealium_trace_idto the data layer of your code installation and set it to the value of the trace ID. - In the HTTP API, this means adding a query string parameter:
&tealium_trace_id=012345 - In a Swift app, for example, it will look like this:
tealium?.volatileData()?.add(data: ["tealium_trace_id": "012345"])
- Add
- Proceed with your test case work flow.
This may mean refreshing the page, navigating through some pages, making a purchase, or viewing some screens in a native app. In this case, completing a purchase over $500 will trigger the audience we created. - Return to the Trace interface to inspect the log details.
Trace log
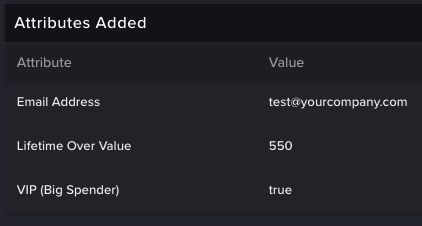
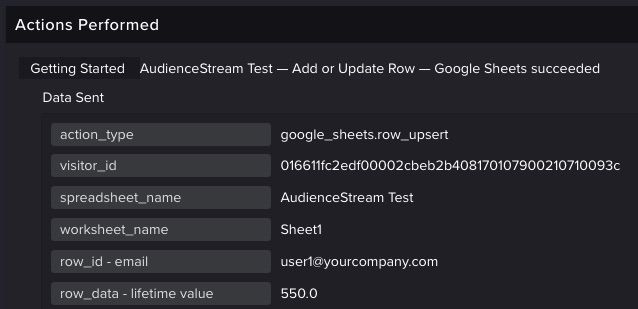
The Trace log will update automatically as events are received. The UI will display the event data details, enriched visitor attributes, joined or left audiences, and any triggered connector actions. If there were any errors, those will be provided as well with additional details of the issue.
In this example, a purchase of $550 was completed and the following was verified in Trace:
- ✓ - Visitor Attributes Updated

- ✓ - VIP Audience Joined

- ✓ - Google Sheets Connector Triggered

- ✓ - Google Sheets Row Inserted


Here are some things to check if you didn’t see the expected trace log:
- Did you use the correct trace ID in your test?
- Did you save and publish your account after adding the visitor attributes, audience, and connector action?
- Are your attribute enrichment rules accurate?
- Is your audience filter correct?
You’ve made it to the end of this simple getting started guide. The next step will quickly cover the save and publish process followed by some helpful links for additional reading.
This page was last updated: January 22, 2025
