Web Companion Adobe Test & Target
To use the Adobe Test & Target tool in Web Companion:
-
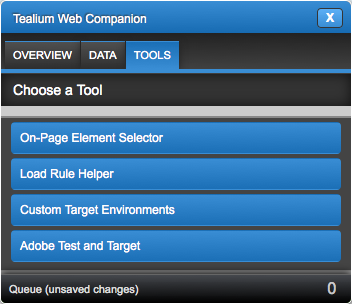
Click on the Web Companion bookmarklet to open Web Companion.
-
Click on the Adobe Test and Target bar.
-
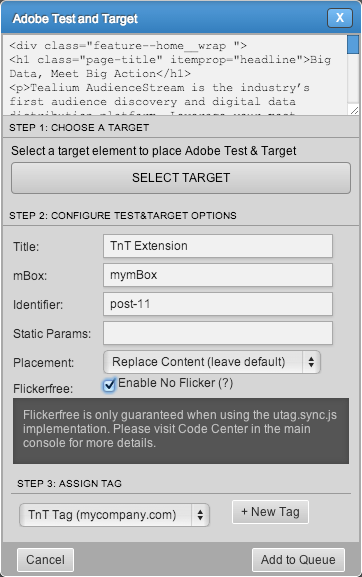
Click Select Target. The On Page Element Selector crosshairs are displayed.
-
With those crosshairs, select the element you want to apply a test to.
-
Web Companion will populate the identifying information for the element you selected. Enter the mBox info and Static params.

-
Select the placement for the modifying content. For more information on this see the Test & Target article.
-
Check the box next to Flicker Free to use Tealium’s Flicker Free solution. See the Flicker Free Test and Target article.
-
From the drop-down at the bottom of Web Companion, select the Tag you want to scope this Extension to.
-
Click New Tag to add a new instance of the Test and Target Tag.
-
Click Add to Queue.
-
Navigate to the Queue and click Save.
-
Enter your Tealium iQ login information and click Login.
-
By default, anything added with Web Companion is turned off in Tealium iQ. Log in to Tealium iQ and turn on the tag and/or extension you added.
-
Save/Publish the profile.
This page was last updated: November 6, 2025
